Ikea Furniture Assembly
Have you ever walked through an Ikea store? It’s almost like an afternoon outing, making your way through the huge store, going from ‘room’ to ‘room’. Everything is all set up to look so cozy and inviting, it almost makes you want to just sit down or lie down and take a nice relaxing rest on all the comfy looking furniture. And it’s this appeal that leads us to go ahead and make a purchase!
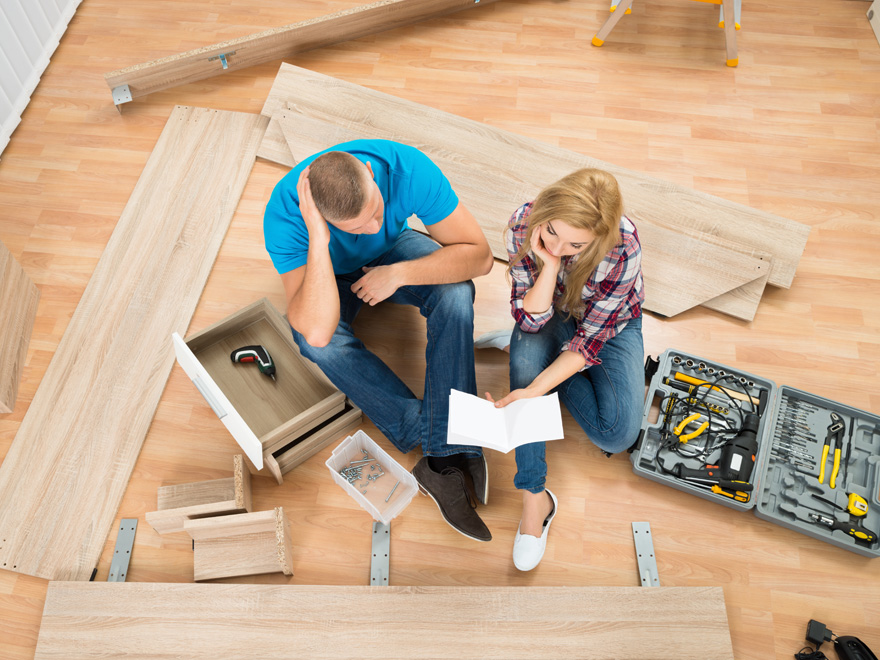
But there’s something many of us forget as we’re picking out new items for our home – all that gorgeous furniture still needs to be assembled when we get it home. And that is about the least relaxing aspect a buying furniture at Ikea!
While some of the more basic items like coffee tables and kitchen chairs are fairly simple to put together, as a Handyman in Vancouver, I receive calls on a regular basis, asking for help assembling more complex items like dressers, bed frames, kitchen cabinets, bunk beds, and sometimes even couches!
That said, I’ve put together some tips to help you face the daunting task of Ikea furniture assembly, should you choose to do the job yourself.
- Before you begin, ensure you have all of your tools ready, including an electric screwdriver or drill with a variety of different bits. Most Ikea furniture will come with an Allen or hex key, but depending on the item you’re assembling, other tools may be required. You should also have a rubber mallet handy because in the next step, you’ll most likely find that there are a whole lot of dowels involved in putting the item together.
- Clear a space to work in. You may have many pieces and parts to put together – having lots of work space will help to keep everything organized and in your line of sight.
- Open, sort out, and count all of the bits and pieces of hardware that are included in the Ikea package. If even one item is missing, it can make the difference between your new piece of furniture being successfully assembled, or at risk of falling apart the first time you use it. If parts or pieces are missing, do not attempt to even start assembly – you should contact Ikea to have the needed parts sent to you or made available for pickup at the nearest store.
- Read the installation guide from start to finish before you being. This is helpful to give you perspective on what all is involved, rather than having you focus and become frustrated on just one aspect. Think ‘bigger picture’.
- Speaking of pictures, I always find it helpful to have a picture of the final product available to give me a good idea of whether or not I’m going in the right direction as I build the item.
- Don’t cut corners!!! It might seem like a good idea to skip a few steps in an effort to speed up the process. But as noted above, if you have parts left over at the end, your furniture could quite possibly be unstable and dangerous if you’ve skipped any of the steps required to properly assemble it.
There you have it – some simple basics that will hopefully make the job of assembling Ikea furniture a little less painful. And when in doubt, feel free to give your Vancouver Handyman a call!