Handyman Tips for Laying Tile
If you’re doing some renovations on your home and plan to lay new tiles in the kitchen or bathroom, this guide will provide you with some handy tips for how to do the job right.
Tools
Having the right tools on hand before you begin will help save time. You’ll need a professional grade level, goggles to protect your eyes, and a carpenter’s square. Additionally, you’ll need a hammer and chisel to remove baseboards, trim, and old tiles, and a rubber mallet to help ensure proper adherence of the tiles.
Preparation
Preparation is the key to laying tile the right way. Before you begin, you’ll need to do a few things to prepare the area for the new tiles:
- Remove all furniture and other items from your workspace so that you will have full view of the area to be tiled.
- Sweep or vacuum up any loose debris. The area will get messy again, but starting with a clean workspace is important.
- Remove baseboards and other trim.
- Remove old flooring material.
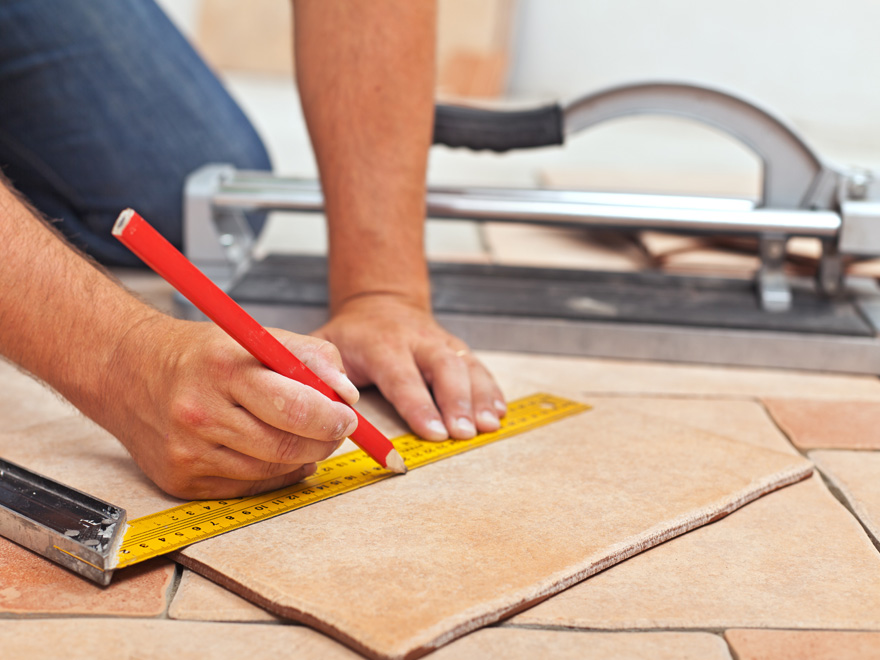
Tile Measurements and Cutting
Ensure that your tiles are cut to the correct measurements before you begin. The easiest way to ensure you have them cut properly, is to create a chalk line ‘cross reference’ in the middle of the space you are tiling. From there, do a practice run laying tiles as far as the wall, and ensuring any partial tiles are cut to specification.
Grouting
For grouting, we recommend using a self-levelling grouting compound or underlayment. This type of grouting is nearly fool-proof, in that it will create an almost perfect surface to lay down your tiles. The only caveat here is to make note that this type of compound will A) dry rather quickly, so time is of the essence, and B) may still have tiny dents or fissures in the surface that you’ll need to manually fill before laying down your tiles.
Laying Tiles
Once you have completed the above steps, it’s time to being laying your tiles. As above in the measurements and cutting section, begin working from the cross-reference point in the middle of your floor, working your way outward towards the walls.
After laying a tile, gently press it into the grout and position as necessary, to ensure proper adherence and placement. If you are using spacers, lay the spacer, then apply the next tile. Continue doing this until you have reached the walls.
Once all of the tiles have been laid, go over the entire floor with your rubber mallet, and gently tap each corner of each tile, and the center of each tile. This will ensure that they are adhering properly and have not changed position.
Next, go over the entire surface with your level to ensure that all of the tiles are evenly in place
Finishing
Once the tiles have set, it’s time to wipe up any stray bits of grout, trim any stray spacers, then stand back and admire a job well done!
Summary
Laying your own tiles can be a fairly pleasant experience if you are properly prepared. And if you run into any trouble, reach out to your local handyman for advice.