How to Apply Weather Stripping to Your Doors
With the high cost of heating in Vancouver, combined with Vancouver winters that seem to be getting a little bit colder each year, having leaky doors is like throwing money away. That will leave anyone with a cold feeling!
On the flip side, during sweltering summer days, letting your nicely conditioned air escape the premises will leave you feeling burnt to a crisp when it comes time to pay your electric bill.
Don’t worry, there’s a simple solution that will keep you toasty warm in the winter, and completely chill in the summer, all while keeping your money in your pocket!
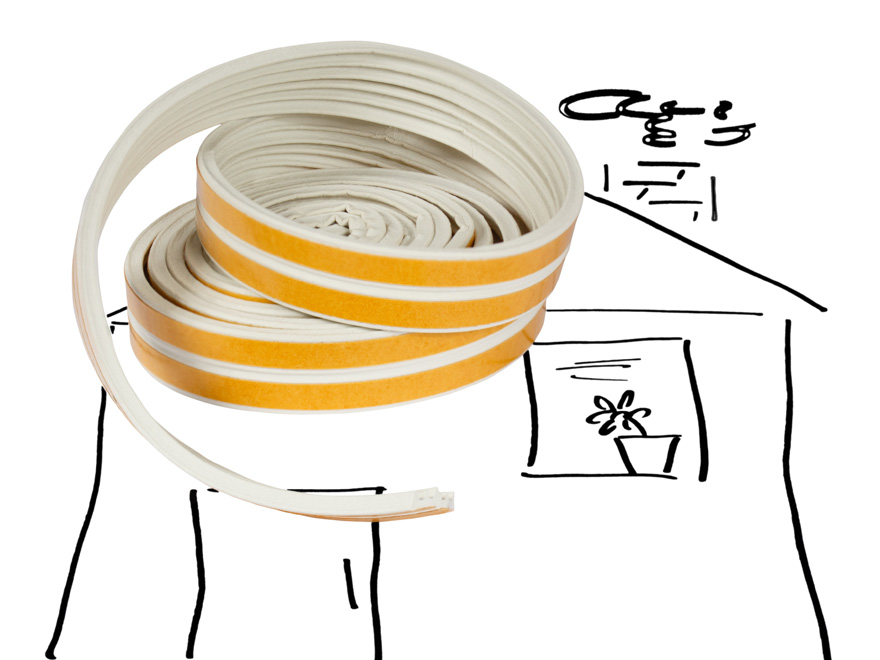
It’s called Weather Stripping. You’ve probably seen it in hardware stores, or even in the dollar store. It looks like a big roll of tape with some foam on one side, and that is literally what it is! So how could something so simple be such a savior?
It’s simple. By applying this weather stripping tape around your doors (and windows too if necessary), you’ll be keeping all that pricey air you’re paying for exactly where it belongs – INSIDE your house.
So how can you take advantage of this super easy fix? Follow these simple steps, and if you run into trouble, give your local Vancouver Handyman a call.
Method 1 – Self-adhesive Weather Stripping
- Start by measuring your door frame. Note: always start with the top of the frame, then do the sides.
- Cut your weather stripping into lengths according to your measurements.
- Next rough it in by lightly nailing your strips to the frame surfaces (don’t forget, top down!). This will ensure a snug fit with no gaps or spaces where air can get in or out.
- Test the seal by gently opening and closing the door two or three times. Keep an eye on the stripping to be sure that you’ve got a tight seal, but also that the door is still able to open and close properly without hindrance.
- Once you’ve established that you’ve got a good seal, and that the door can still open, close and latch properly, it’s time to finalize the process.
- Again, starting with the top of the door frame, remove the nails, peel the backing off the weather stripping, and apply the self-adhesive side firmly to the door frame. Avoid bubbles lumps and bumps. This can be a little bit tricky on the first try, but if you’re methodical and take your time, you can do it!
- Repeat step six on the remaining frame surfaces, and you’re done!
Method 2 – Non-adhesive Weather Stripping
If you’re using a non-adhesive type of weather stripping, follow steps one through 5. Once you’ve completed those steps, you can finish the job by hammering the nails all the way in. Again, it’s important to take your time and be methodical, so that you don’t end up with gaps, bubbles, lumps or bumps.
With this method, because you’re hammering the nails in all the way, you run the risk of damaging and splitting the door frame if you have to pull and re-hammer the nails over and over again.
That’s it, the simple cost effective way to keep the air you’re paying for where it belongs!
Still need help? As a Vancouver handyman, I’ve completed my fair share of weather stripping jobs. Just give me a call and I’ll be there to help!