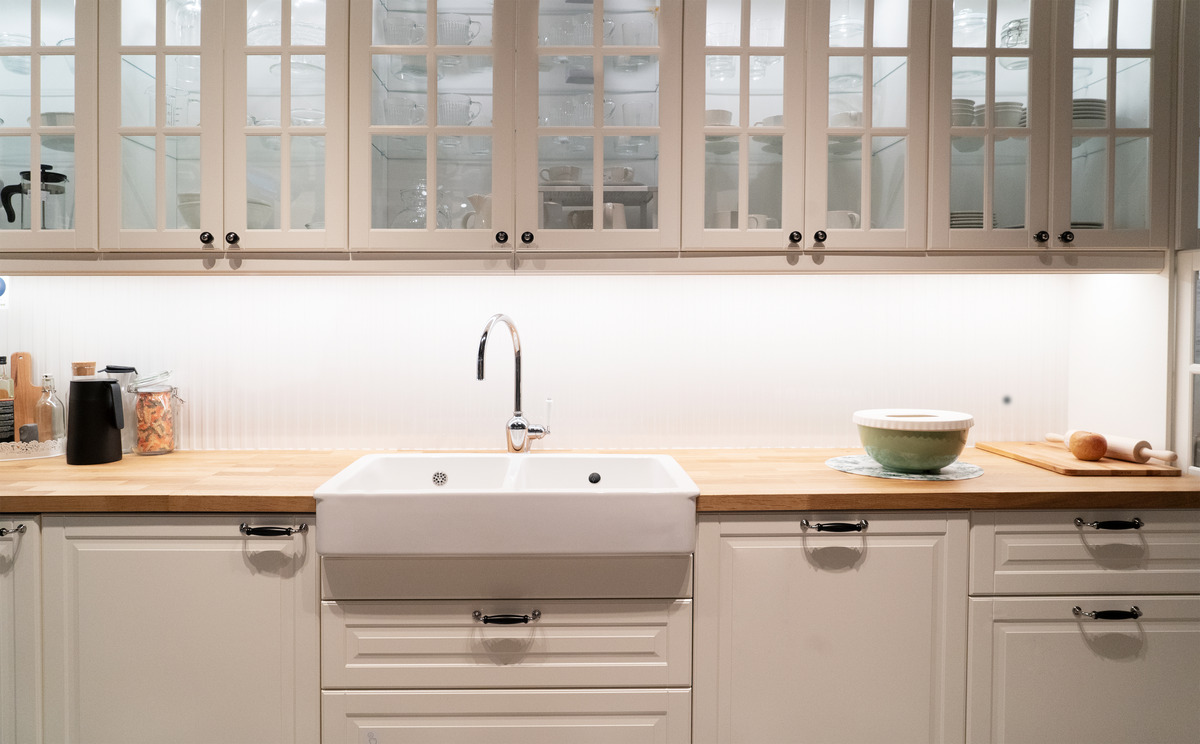
Installing Under-Cabinet Lighting
Under-cabinet lighting is one of those upgrades that can completely change the look and feel of a kitchen. It brightens up dark countertops, adds ambience, and makes meal prep easier. Whether you’re going for a modern LED strip or classic puck lights, the key to success is careful planning and proper installation.
Here’s a step-by-step breakdown of how to install under-cabinet lighting — plus why hiring a handyman can make the job faster, safer, and cleaner.
1. Planning & Power Setup
Before you start drilling holes or sticking lights in place, plan the layout carefully.
- Choose the light type: Options include LED strips, puck lights, or light bars. LED strips are sleek and energy-efficient, while puck lights give a more focused glow.
- Measure your cabinets: Determine how many lights you’ll need and where they’ll go. Ideally, the lights should be centered over your countertop workspace.
- Decide on power source: Will you plug the lights into an existing outlet or hardwire them to a switch? Plug-in options are simpler, while hardwiring provides a cleaner look.
- Plan for hidden cords: Try to route wiring behind cabinets or through concealed channels for a tidy finish.
Tip: If your lighting setup requires a new outlet or electrical connection, this is where a professional handyman or electrician should step in.
2. Cutting & Connecting Lights
Once you have your layout set, it’s time to prepare the lights.
- Cut to length (for LED strips): Many LED strips can be trimmed to fit specific cabinet lengths — just make sure to cut only at marked intervals.
- Connect the sections: Use connectors or solder joints (depending on your lighting kit) to join multiple strips or sections together.
- Test connections: Before sticking anything down, plug in your setup temporarily to make sure all lights work and connections are solid.
A small mistake here can cause flickering or dead spots later, so double-check each connection.
3. Installation & Testing
Now comes the fun part — putting the lights in place.
- Clean the surface: Wipe the underside of your cabinets to remove dust or grease. Adhesive backing won’t stick properly otherwise.
- Mount the lights: Stick LED strips in place or screw in puck lights or bars using the mounting brackets included.
- Hide the cords: Use clips, cable covers, or raceways to keep wires neat and invisible.
- Power up and test: Once everything’s mounted, turn the lights on and check for even illumination across the counter.
If you see dark gaps or uneven light, you can adjust the positioning before securing all the wires permanently.
4. Final Items to Consider
A few last details can make your project look truly professional:
- Dimmer switch: Installing a dimmer lets you control brightness for cooking versus evening ambiance.
- Smart lighting: Some under-cabinet lights integrate with Alexa or Google Home — great for voice control.
- Color temperature: Warm white light gives a cozy glow, while cool white enhances modern spaces.
- Maintenance: LED lights last for years, but occasionally check connections to ensure everything stays secure.
How a Vancouver Handyman Can Help
Installing under-cabinet lighting might sound simple, but there are a few challenges that can trip up DIYers — like drilling through cabinetry, managing hidden wires, or working safely with power connections.
A professional handyman can:
- Assess your kitchen layout and recommend the right lighting type
- Handle electrical connections safely and up to code
- Mount lights cleanly with no visible wires or gaps
- Install dimmers or smart controls for convenience
- Save you hours of trial and error
If you want your under-cabinet lighting done neatly and efficiently, hiring a Vancouver handyman ensures a polished, professional result that enhances both the function and beauty of your kitchen.
Contact me today for a free quote! I’m quick to respond and highly reliable!

